WHAT WE'VE BEEN UP TO.
Aileen and Doug | Engagement Photography
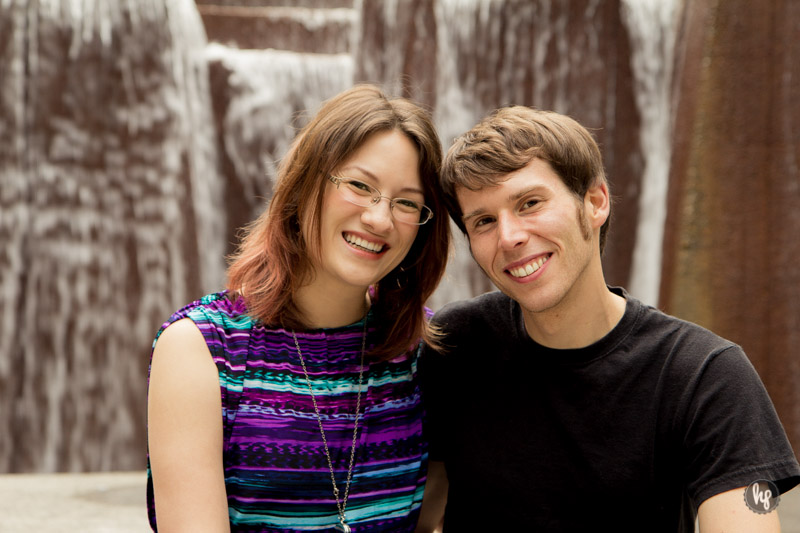
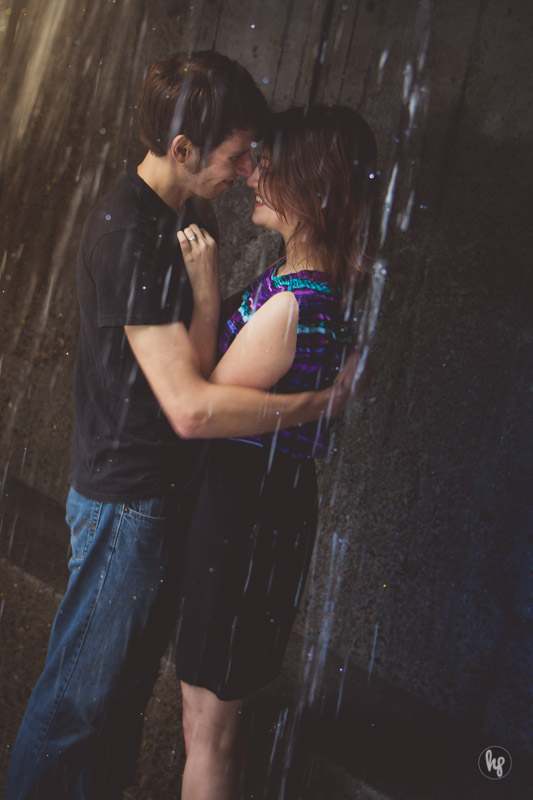
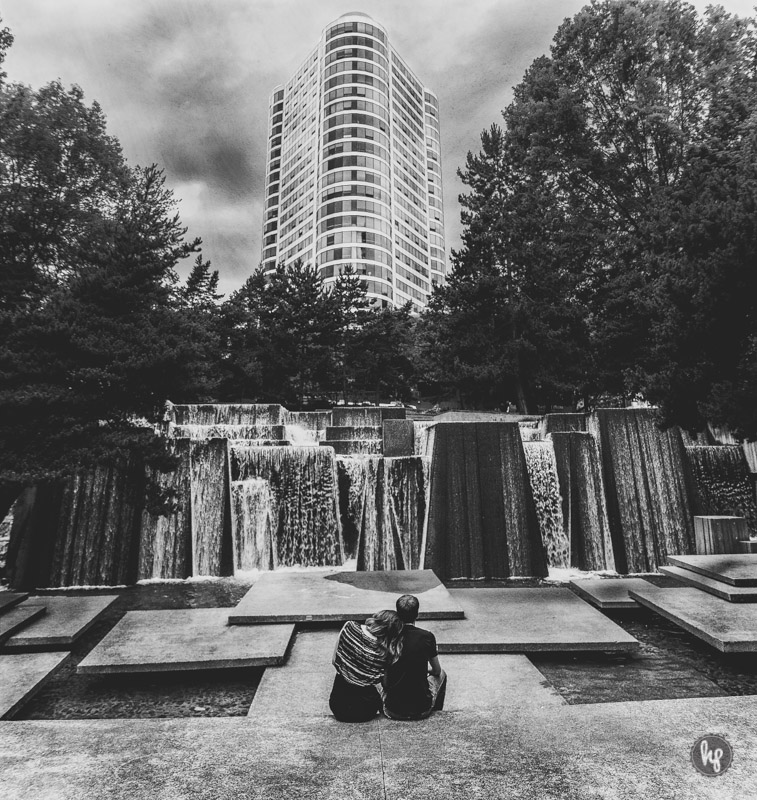
Aileen and Doug don't exactly have a date yet for there wedding, but we went out and got some shots of them together for fun. They were really easy going, fun and ideal for shooting with. This shoot was at the drop of a hat with not much talk before and no prep besides the picking of the location. Not the norm for engagement photography, but it worked out.
HP
HP Studios Photoshop | Stukers
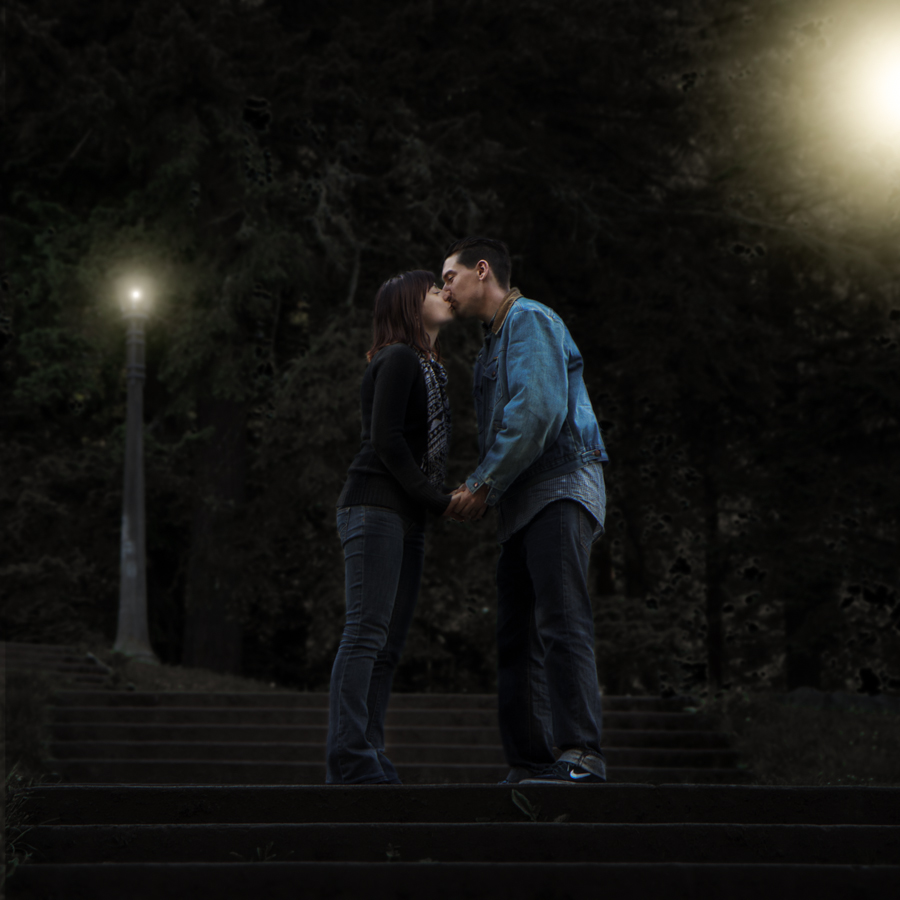
Thought I'd share this "Day to Night" edit done in the first HP Studios Photoshop post.
I went out with Misty and Chris Stuker the other day for a couples photo shoot and came away with a shot with these lamp post in the background and immediately thought of doing this artistic edit.
1. It began with this original image from Lightroom.
2. Still in Lightroom, lower the exposure and highlights to your liking and with the brush tool bring back the exposure on the couple, again to your liking.
3. Then in Photoshop select the bright areas in the background with the Magic wand tool. You may have to add to your selection by holding "shift" and selecting again.
4. With the bright parts selected (you may want to soften the edges of the selection before you continue, I forgot this step in my edit)go to your Adjustment layers and select the HSL and lower the Saturation and Lightness.
5. My selection came out with these harsh edges so i decided to blur them with "Gaussian Blur" as a smart filter. Then masked the couple out of the blur.
6. Then we did a bit of desaturating on the greens and yellows in the image masking out the areas on the couple and the background where I wanted the color back.
7. With Red Giants Noll Light Factory I made my flares, but you can make these as well in Photoshop in other ways.
8. Finally we add the vignette, just to darken the spots not affected by the light a bit more.
This is just how I did this particular image. There are many ways in Photoshop to do the same thing, not one way is the right way. Look for more HP Studios Photoshop bits here on the blog and on the future HP studios YouTube channel.
Comment if you would like help with any photoshop tips or tricks and we'll be sure to bring them to you.
Cheers!

